Hello!! I’m excited to have one of my best friends–Jess, guest-blogging for me today! Check out her awesome DIY project!
Hey everyone! I’m so excited to be doing a guest blog today! I wanted to blog about one of my favorite arts and craft activities! I’ve successfully done this art and craft two times, and have used it for different things! I got the inspiration one day this past winter, when I was bored at home for winter break from college! I was scrolling through Pinterest and found this really cool craft!! TINTED MASON JARS!
The Mason jar activity is so easy, and you can use it for so many practical things! Here is a list of supplies that you will need:
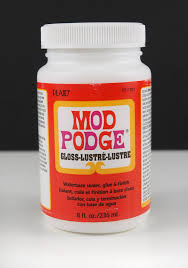
- Modge Podge
- Food Coloring (whatever colors you prefer)
- Wooden popsicle sticks for stirring
- A few mason jars, I used medium sized
- Wax Paper/ Tin Foil
- Paper Plates
- Water (optional)
The first step in creating your masterpiece, is to pour a little modge podge into the bottom of the mason jar. Make sure it’s enough, but not too much! Some people recommend about ¼ cup, however I usually just eye ball the amount.
Next add a few drops of food coloring to the modge podge, and stir, using the popsicle stick, it to a color you prefer! It will look like a pastel color, from the modge podge, but as you bake the jars it will become see-through and tinted.
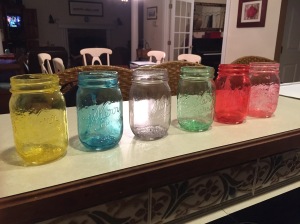
**My favorite colors so far have been yellow, blue, red and green! They came out the best!**
Next, you will turn the jar side to side and up and down until the modge podge has fully and evenly coated every surface of the inside of the jar. This is an important step! If you put too much, the modge podge will settle at the bottom, but if you don’t put enough, you will have streaks! After my second or third jar, I got it down!
** If you are having trouble coating it evenly, you can add a tad bit of water to the mix.**
Then, you will put the jar upside down on a paper plate and let the excess modge podge drip out for about 30 minutes.
Place the jars upside down on a baking sheet that is covered in tin foil or wax paper. It can get messy! Bake on the lowest setting (my oven was 170 degrees) for about 10 minutes (or until the modge podge has baked off the bottom). Then flip the jars right side up and bake for another 10-15 minutes depending on how well the modge podge is baked off. Carefully take them out of the oven, they will be very hot! Let them cool for about 10 minutes.
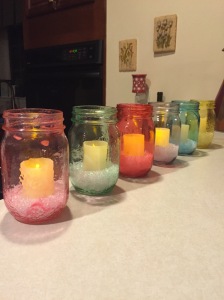
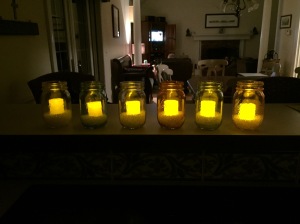
Now you have perfectly tinted mason jars. I have used these mason jars as Christmas gifts, filling the bottom with sand and pebbles for decoration. I most recently used them as lights, by placing decorative crystals and a non-flame candle inside! The perfect flashlight! Use them as gifts, night lights, or even just when you need a relaxing few minutes! -Jess


